Sunday, January 1, 2017

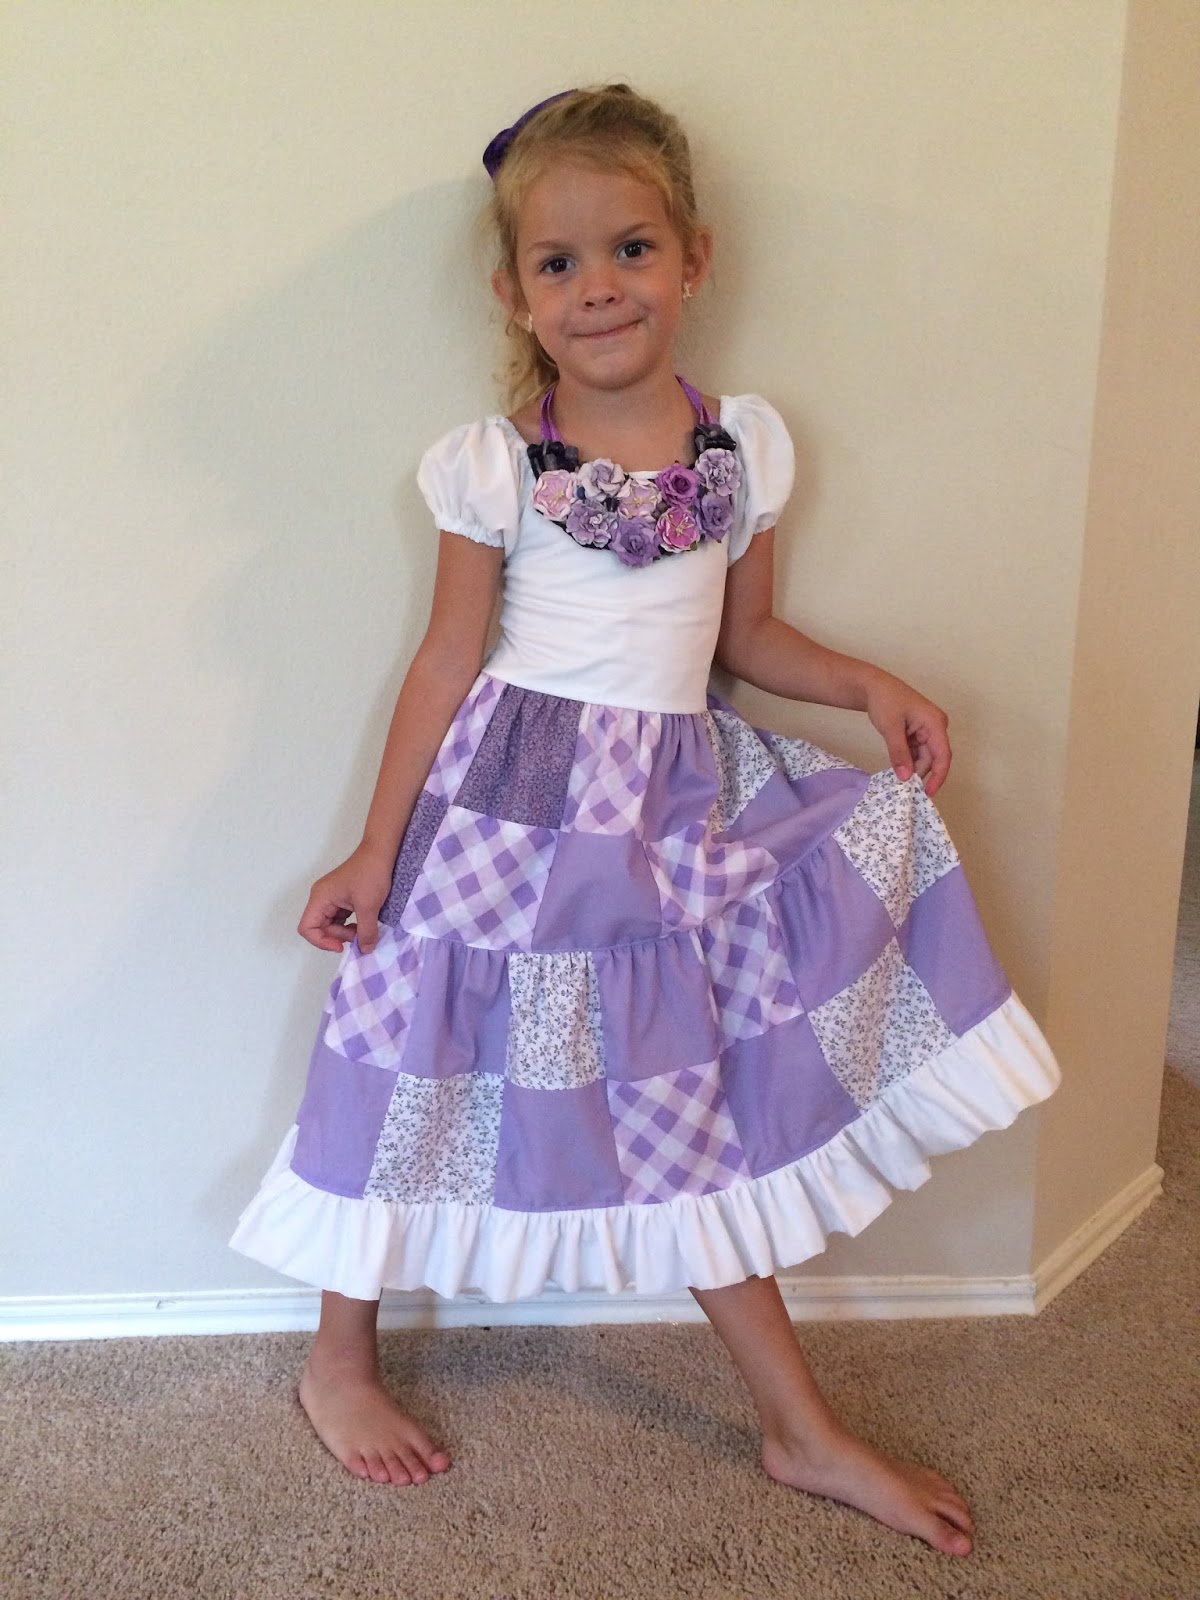
A Very Special Purple Dress

 I call this dress special because it is one of my absolute favorites!  And I can't even take credit for the entire dress!  My friend was getting rid of these quilting squares that she had sewn, and a big flower necklace.  Originally, they were completely unrelated, but when I saw them next to eachother, I knew exactly what I wanted to do with them!
Using the Josephine pattern from Foo Foo threads (it was my go-to pattern for awhile!), I arranged the quilting squares just so.  I could have used a couple more, but that was out of my control (I like big, full dresses!).  Because the bulk of this dress had already been done for me, it was a quick sew!  And the necklace brings it all together.  And I didn't pay much more than a dollar to make this dress I made it back in June 2016)!   


Luna Love!

 Since I am impossibly far behind, I'm going to post all of these Luna creations in one post.  This is yet another pattern from Violette Field Threads.  I couldn't wait for it to go on sale, so I bought the pattern back in October for full price.  I think I got my money's worth out of it anyway! I love this pattern so much! Its so cute, quick, and easy. I had to stop myself from making Lunas because I was going a little crazy, making a whole bunch of them!  This pattern is so versatile, I love all of the different looks I can get.  I also love the Luna is because it doesn't require a ton of fabric, and its great for mixing and matching fabric as well:


  My very first Luna!  I bought the fabric at Walmart.  I chose it because it is vibrant and is a great fall color scheme.  
 I had this orange and brown fabric in my stash forever!  I made this one for my niece. 

 
 I made this shirt from leftover material from a dress I made my niece a few months back.  It wasn't enough fabric (not enough width), but even with it not being as full as the pattern called for, I think it looks darling!
 Ooh, how I love how this one turned out!  I made it from my old maternity jeans that were all stretched out at waist.   

 
 A sweet dress, made from thrifted fabric and trim.  I used some fat quarters I got at Walmart for the bodice and pockets.

 A Christmas-y shirt I made for my niece.  All from thrifted fabric and trim!  I wove red ribbon into the trim, and it took much longer than expected because it kept twisting.  I love the way it turned out!  I didn't have enough fabric for pockets, but I think it looks adorable without.

The Piper Shirt

 Sorry, it has been over a year since I've posted on here!  I took a small break from sewing for a bit, and then came back full swing!  I have been sewing for Elisa like crazy!  I don't know if I'll ever keep up!

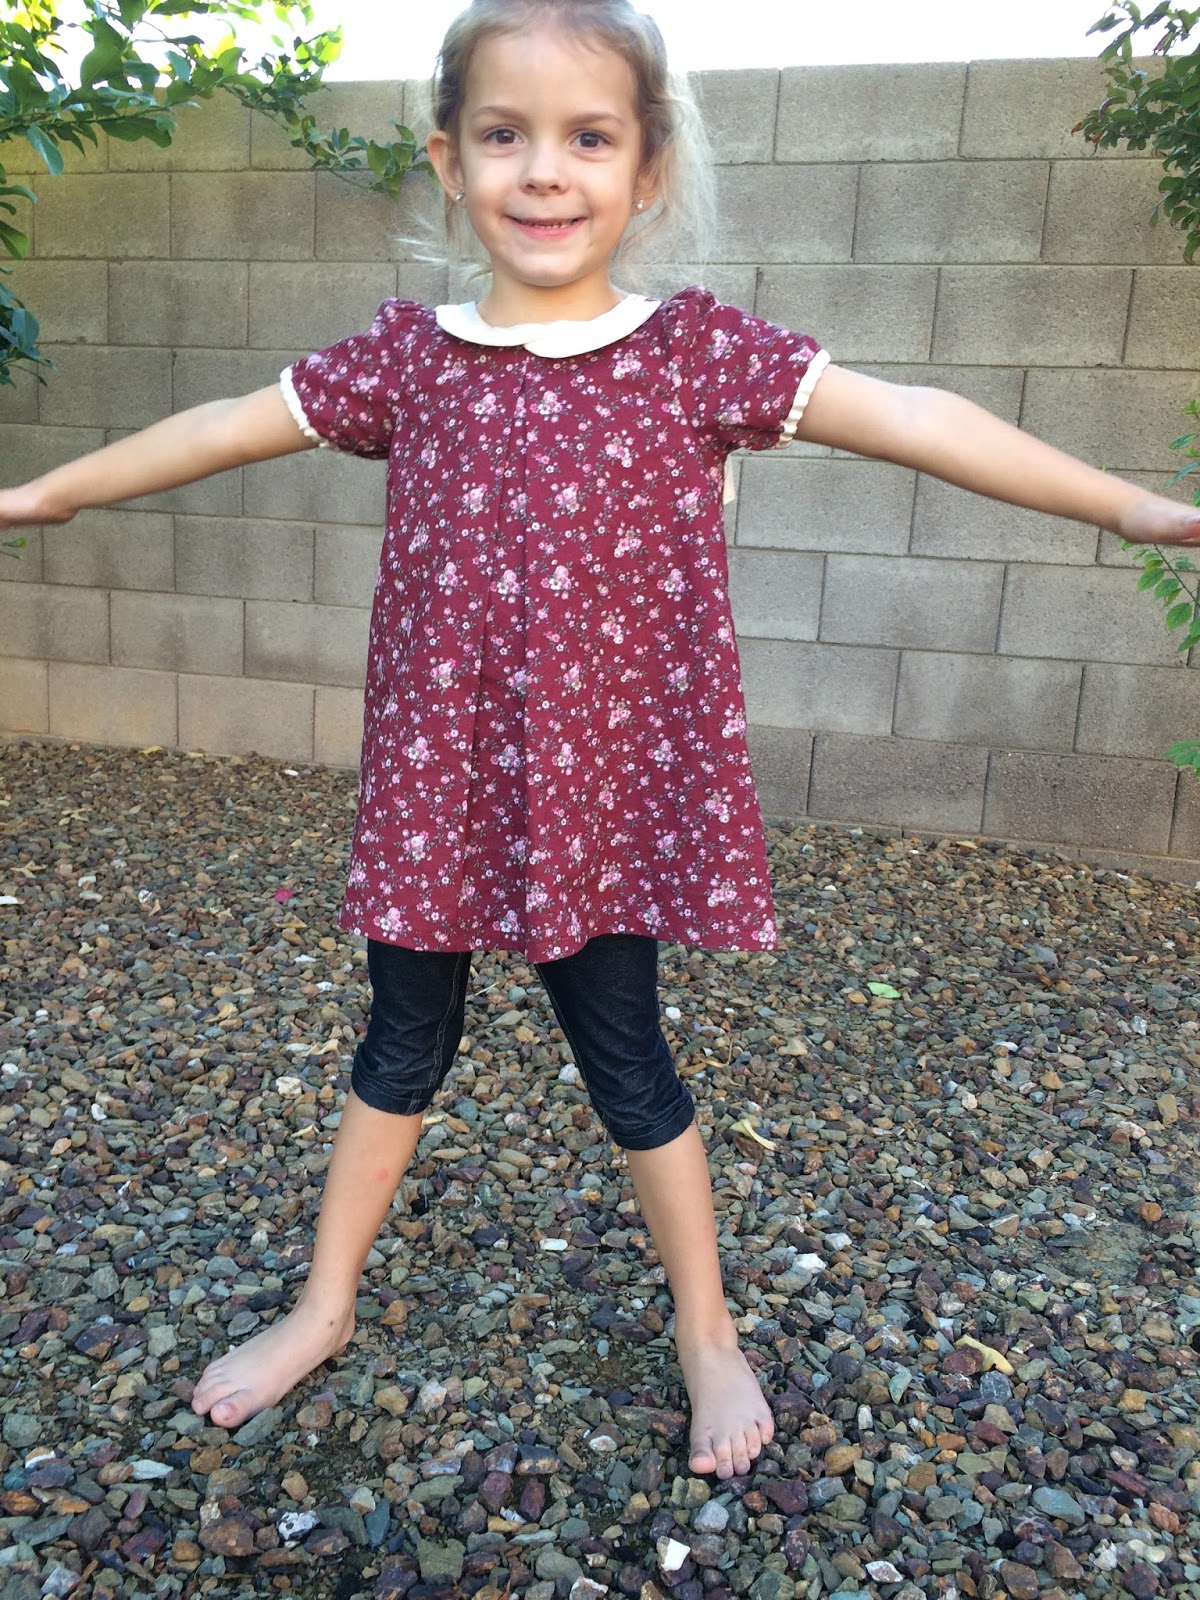
Here is a shirt I made for Elisa a few months back.  It is the Piper pattern from Violette Field Threads.  The pattern is actually for a dress but I wanted to make it a shirt (tunic length), and it wasn't very hard to do.  I just tucked the ends of the bow at the bottom and you'd never know!  It's hard to see, but I did a lace overlay for the bow and collar, and a satin/shiny material for the trim and under the overlay.  I like that the combination of the lace overlay with the satin/shiny material give the bow a firmer structure so that it doesn't droop like some other Piper bows I've done.  I would recommend using interfacing for Piper bows in the future so that they hold their shape, especially important for washing! For the main fabric I used some pretty fabric I found at Goodwill:


Thursday, October 22, 2015

Jean Tulip Dress

 I made this cute dress from the same pattern of a dress a few posts back. I originally was going to make a shirt with some jean ruffle pants out of it....but I messed up the cutting and came up with this instead.  I had juuuust enough fabric leftover from my screw-up, but I like the way this dress turned out even better!  I intended it to be for Elisa, but she already had (has!) too many dresses that I thought I'd give it to my niece Aaliyah, since it was her mommy that gave me the fabric to begin with.  I love it on her!


Thursday, September 3, 2015

Mario Head Pillow

 I'm back!  I have been sewing, but just not as much (baby takes up most of my time, and I do need to clean house every once in a while).  And what I have been sewing, I haven't been taking pictures so that I can post on here.  But here are some {crappy} iPod pictures of a very fun project I did a few months back.  Its not clothing I know, but the sewing machine played a vital role in producing this, and fabric was involved as well, sooooo...here ya go.  A big Mario head pillow!

First of all, copying was involved.  I'd prefer to call it "inspiration" and "thriftiness"

^^ my son really wanted this Mario head pillow.  He's obsessed with Mario Bros.  I didn't want to shell out money for something I could make myself and pay a fraction of the cost.  Besides, it was very fun to make.  My boy really enjoyed watching it get put together and was so so excited about the whole process.  I didn't have the needed fabric in my scrap pile, so I did have to go to Joann's and buy some proper fabric for this project.  It added up to $5 or so.  I bought some soft yet stretchy skin-colored fabric and some soft stretchy red fabric (they were both fleece-like material).
I didn't use any pattern; I made my own.  I would upload the pattern pieces here so others can use them, but I haven't the darnedest idea how to do that, so sorry.
Here are some pictures of the progress, and the final item.  I do NOT have an embroidery machine so yes, the stitching around the eyes is a bit wobbly, but my little guy did not seem to notice and I don't think it takes too much away from the complete look. The eyes were the most time-consuming part, but after they were finished, the project came together fairly quickly and easily.  The only mistake I made lies within the pattern itself--I should have made the brim of the hat (the part that rests against the head) curved instead of straight.  It pulls a little bit, making it not lay right.  Not too noticeable though.  I think in all it turned out great, but most importantly, my son was (and is) super happy with it.  He loves it! Yay!


Tuesday, April 28, 2015

Blue & Green Dress

It's been awhile.  Anywho, I made this dress for Eeesa waaaay back in October.  I actually made it for a parade she was supposed to be in, but it was canceled.  No loss though, I'm very happy with the way this dress turned out.  I bought the fabric a while back at hobby lobby, and the green trim at walmart, so I spent probably around $6-7 to make this dress.  I can't even remember which pattern I used, but I really like this pattern (no closures-it is a pull-over dress!).  You can't see it that well, but I did some machine top-stitching as embellishment along the tops of the pockets (I love those pockets!) and across the chest.  I think it adds a unique, professional touch.  Elisa wears this fairly often and I've got plans to make her another dress using this pattern.   

Wednesday, December 31, 2014

Initial Shirt and Matching leggings


One last post before the year is over!  I still have plenty of of things to post, but the problem is that I haven't taken very many pictures to post!  And the pictures I do have are crappy iPod pictures.  Here is one outfit I made for Elisa a couple months ago.  It was among the easiest a cheapest outfits I've made for her.  And she loves it because it has "her E" on it. I found this fabric on clearance at walmart for less than $2/yard.  And I didn't even need that much fabric.  The shirt I bought at walmart too, for about $4.  So, about $6 for a complete outfit.  I even made her a hair scrunchie to match, and I still have fabric left over.  The floral print is still in style and I love that its really soft and stretchy (you can't tell from the picture though).
Leggings are really easy to make; I used the Violette Field Threads pattern.  The E was super easy too--I printed out an E on the computer.  I ironed some fabric to some heat 'n bond (best stuff ever, I don't know why I haven't been using it previously) and then pinned the E on to the fabric/paper.  I cut it out using an x-acto knife.  Then I just pinned it on to the shirt (using some very stiff interfacing for the back so the fabric didn't stretch out of place) and used an embroidery stitch function on my machine (not sure what its called--it looks kinda like triangles with a straight stitch on one side) to sew it on to the shirt.  So super easy.
 I don't think I have a picture of her wearing this, even though she has several times.  You'll have to take my word for it though, she looks adorable, as usual!