Wednesday, August 31, 2011

Matching Mommy/Daughter


I had leftover fabric from a skirt I made for myself way back when, so I put it to good use and made Elisa a little matching dress out of the fabric.  I love the color and how shiny the fabric is.  I altered an old pattern for a girl's dress--I made it without a collar and without sleeves (those tiny sleeves are just so hard to shove under the machine needle!). It's a little big for her now but she'll grow into it in no time!

s


Just had to make her a matching hair band too:


Tuesday, August 30, 2011

Red Skirt Onesie and Burnt Tulle Hairband

Failure!
Elisa doesn't have very much red in her wardrobe.  Lots of pink, though! So I bought some red flowy fabric (the kind that is sold on a spool) on a whim and sewed it on to a onesie.  It looked cute for a little while until it started to fall apart. Not my fault though---the fabric was pre-sewn onto a ribbon and that's what came undone.  Also I should have added some elastic or something because the ribbon didn't stretch with the onesie, so it was a struggle sometimes to get it on her! I also glue-gunned some beads and gems on the collar.  Not a good idea, half of them have fallen off already and plus they tend to end up lost in all of Elisa's neck chub so you can't see them most of the time anyway.  Oh well.  I didn't take a picture, but the back is a mess thanks to the fabric coming off the ribbon and me trying to repair it. At least she got a few wears out of it:


I also made a hair band to go with it using the burnt flower technique.  I really like the way it turned out.  I did the band in a red-neck fashion--I colored some thin elastic red with a permanent marker, ha.  They don't sell colored elastic, at least not that I could find.  It would have worked just perfectly if the marker wouldn't rub off on to her skin and leave red marks that look like owies!  But I think it looks pretty darn cute, regardless:    


Blanket

 I had some leftover fabric from the carseat cover so I figured I might as well put it to good use and make her a matching blanket.  I originally decided that I would NEVER make a baby blanket because for one, I already have a bunch, and for another, they are so easy to come by.  I just couldn't resist making it though!  My favorite part is the embroidered heart I put on one of the corners, it makes it so much more personal.  It was really fun and easy to make; I'm glad I have a decent machine that can sew cool stitches.  Making the rest was pretty straightforward, except the gathered ruffles around the edge took FOREVER because I had to do a little bit at a time.  But I am pleased with the way it turned out and I like that it matches her carseat.  Here's a personalized minky blanket with ruffles I found on Etsy--$40 plus $7 shipping.  Since I used leftover fabric, mine was free! :)    


Monday, August 29, 2011

Kinley's Dress

 I made this special outfit for a friend's birthday.  She loves the zebra print and hot pink (very popular right now!) so I went to town and made her this for her girl who happens to be the same age as Elisa (they are only 4 days apart).  I must say it was very convenient to be able to use Elisa as my little model!
I copied the bodice from one of Elisa's dresses.  The rest of it I designed myself.  I appliqued the heart and glued the girl's initials in swavorski crystals.  Then I added a bow with some corkscrew ribbons (more on that later).  I originally had 5 layers on the skirt, but I didn't like the way it looked so I cut off the bottom black layer.  I almost cut off the pink and black layer, but I just couldn't bring myself to do it.  I'm glad I didn't because I love it the way it is.  There's no picture of it, but there are 3 buttons on the back and they are sparkly, I am in love with the buttons!
This dress (if I may toot my own horn) is STUNNING in person.  It's bold, shiny, and fun.  We went to the mall the other day with Kinley wearing this and many compliments from strangers were given on this dress.  I want to make one for Elisa now!  However, this took a fair amount of patience (and time, of course) to make. The fabric was extremely slippery and it tends to fray easily.  Not a huge fan of the fabric, at least not working with it, but I love the way it lays and especially the way it shines.
Here she is in her momma's birthday present! Isn't she a doll?!


I can't even tell you how much this would cost if you bought it.  I would say no less than $100 that's for darn sure.  There is nothing else like it!

Rolled Flower Head Band

 Outfits with no matching headbands always inspire a new headband! That was the case with this little dress--there was no hair bow to match, so I made her one. Because God forbid Elisa ever goes without a matching hair bow! 
I had a lot of fun making this head band.  The rolled flowers are so easy to make.  There are a million tutorials on YouTube, so I'll let you find one for yourself.  My favorite part was glueing on the beads, they add a nice touch. 
I used scrap fabric so I pretty much paid nothing to make this.  Excepting the nylon hair band, I guess that cost me a whopping 33 cents...make that 17 cents, they come in a pack of 2 :)
Here is an online boutique that sells hair bands similar to this one.  The cheapest one I saw was $13.00--I don't even know how much shipping is!   


Black Princess Onesie

 This is one of the first little outfits I made for Elisa. There wasn't much sewing involved, except sewing the tutu on the onesie.  The letters I just ironed on and the hair bow was put together using a black rose I bought for $2 and some feathers I got of some old lingerie, ha (she'll never know).  I love the sewn-in tutu! You need a minimal amount of tulle, just fold it in half and sew it on.  You should probably measure so it's not crooked.  I didn't cuz I'm lazy but it still turned out okay.  This is one of my favorite outfits on her, the hair bow really makes it pop!  Plus it is a nice break from all the pink.  Who knew black could be so adorable?! I'll be so sad when she grows out of this outfit, but I do plan on making her some more onesie-tutus because they're so easy and so darn cute!  


Here is a similar one I found on Etsy. $25 + $5 shipping.  I think I paid $5 MAX for the outfit and 10 minutes of sewing and another 5 ironing on the letters.

Sunday, August 28, 2011

Car Seat Cover

 Okay, I am crazy.  Can't believe I pulled it off but I did.  I re-upholstered Elisa's car seat about a month ago.   Before that I had been browsing through a bunch of crafty blogs and discovered that you can make a car seat cover yourself,  but I was too scared to attempt it.  But I was getting SO TIRED of the ugly tan/animal print on hers.  We had bought the car seat second hand and used it for Elisa's big brother Gabe.  It had it's day.  And it didn't make me feel any better about it up next to her friend's car seat, who's got a zillion compliments everywhere they went: 
My mom came to visit me and I tossed the idea around seriously for a few days then decided to go for it while my mom was here helping with the kids.  So I went to Joannes.  I didn't know exactly what I wanted, but I wanted the soft minky fabric for sure and a bold, striking fabric to go with it.  It was love at first sight when I came across the fabric.  Black, pink and gray, plus sparklies in the fabric! So I bought a yard and a half of that, 1 yard of the soft pink minky fabric, thread, and pink bias tape.  The minky fabric was the most expensive, and it all totaled to about $30.
I went to work that day tearing apart the old fabric.  I had to be careful though because I needed the exact measurements of the old fabric and I also needed to reuse the batting. I took pictures mainly for my reference later so I could remember how to put it back together:


Sorry I do no have any photos of me actually working on it.  I was working insanely fast to get it done.  This type of project was not one that could be set aside and worked on later.  I needed it done so Elisa could have a car seat to go places in! I worked on the car seat cover until 1 am the first night, woke up around 7:30 am and finished around 10:00 am the next day.  And that was just the car seat cover.  That night I worked on the canopy from 7 until midnight (not straight...I do have two kids to take care of!).  Then it was finally done! YAY!!! It was such a relief to be rid of the ugly boy fabric and to have a cute car seat cover:

 NO.  Beautiful and ugly do not go together!


 YES!


So...$30 and about 8 hours of work went into Elisa's car seat.  Though it wasn't extremely difficult to make, it was a lot of work because there were a lot of steps involved.  But it was way cheaper then buying one that's for sure.  The cheapest I've seen on Etsy went for about $60 (I don't know how much shipping costs or if it includes the canopy or not) and just went up and up from there.  My friend said she paid $180 for hers.  I'm glad I could make one for Elisa and now we get compliments all the time!! 

Green Hair Clip

 This hair clip I completed a few months ago.  I made it because we had no green hair bows to go with her green outfit we got from her great auntie.  Tragic, I know.  I wanted to make something sparkly and different.  I hand strung some sequins using a beading technique called brick stitch (ladder only).  Then I did some stuff...errr...I really can't tell you how I did it...it all came out of my noodle head and was spontaneously created (as in I had no solid plans on how the end product would look).  I put some tulle and some feathers and there you have it.  I like how it turned out, it kind of looks like the 20's flapper style.  I love it because no other girl in the world has one like it!    


Burned Flower Tutorial

 First, cut your circles.  I traced around some cups and made 3 different sizes, 5 of each, but you can make however much you want:

 Now the fun part.  With RIGHT sides of fabric together,  use tweezers to hold the piece just over the flame.   NOT in the flame.  You just need the heat to melt the edges to they look polished and most importantly, don't fray.

Now you have  a bunch of petals.  Arrange them so they look like a flower.  There is no right way, just do whatever you think looks best.  I like to glue gun mine, but regular craft glue or a needle and thread will do fine.  Whatever works. 


Add your bling.  I sewed mine in first and then glued it for security:

 If you're doing the nylon head band, cut off the ends and stich them together with your needle and thread.  Then cut out 2 circles (no bigger then your flower) of your felt and sandwich the seam between the felt circles. If your making it a clip, just hold open the clip and sandwich one side between the felt (you'll want the flat side to be by her head). Glue.  This makes it look neater but mostly keeps it comfortable for the baby to wear:


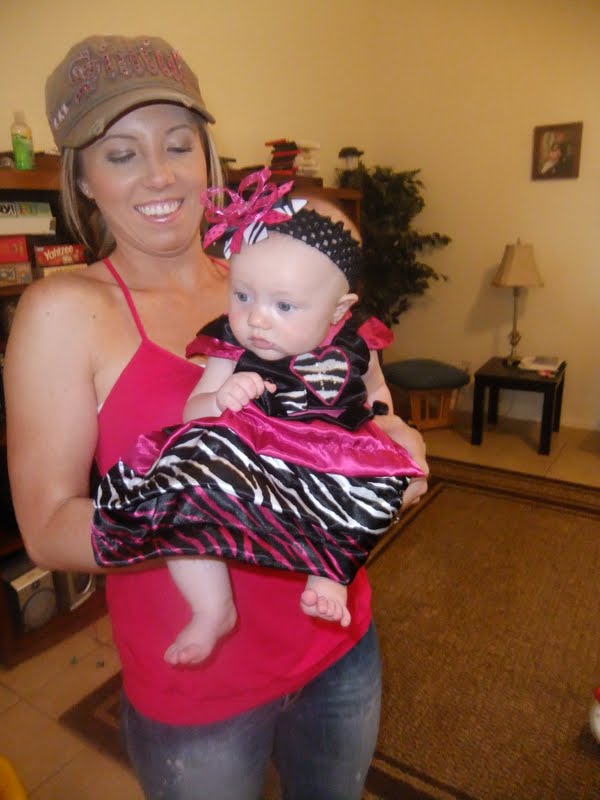
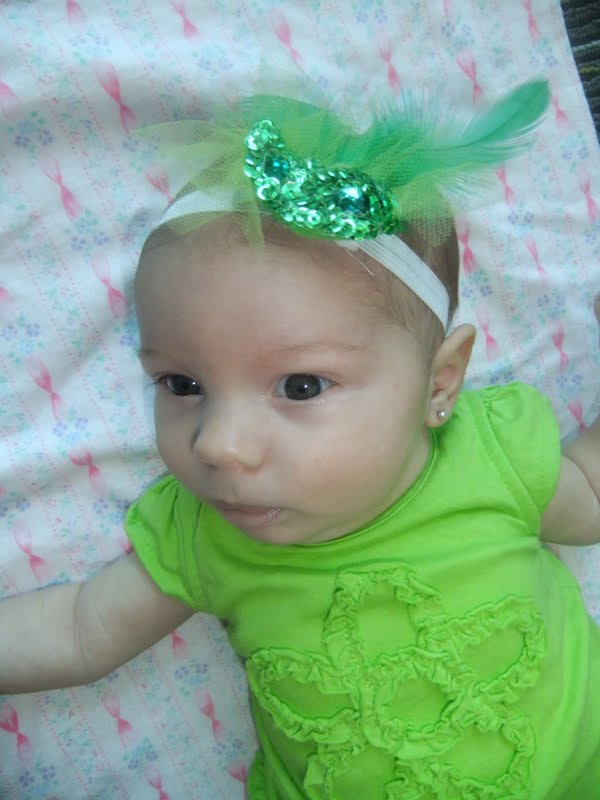
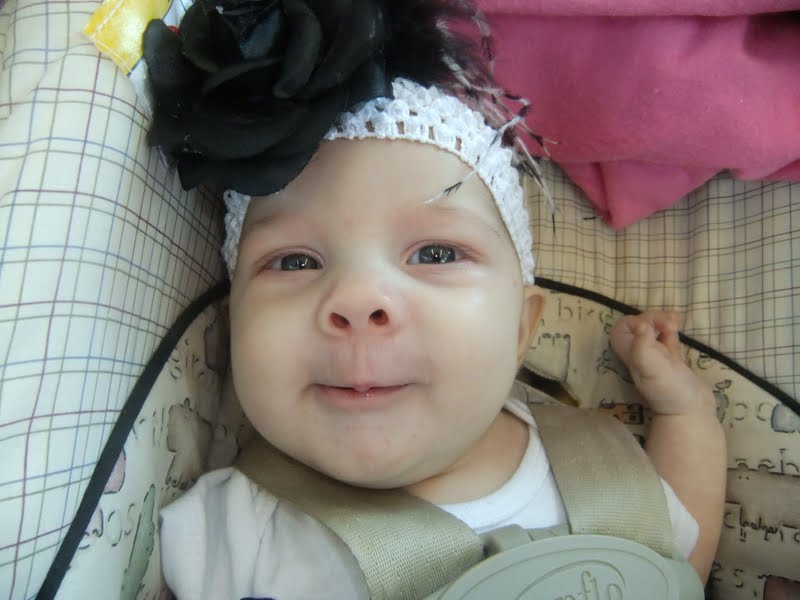
And here it is on our beautiful little model:


 Oh, and here is a similar version on Etsy.  $16 plus $4 for shipping.

I used leftover fabric, I had that button sitting around for litteraly ten years, and I paid 33 cents for the nylon.  I would have paid 8 times as much buying it from someone else.  Also it only took me what, a half hour to make?  It sure pays to make it yourself! 

Hello and Welome!

Since we've had little Elisa, I've been going crazy with making her cute outfits.  I've had a lot of fun making her clothes because girls are so fun to dress up! 
I love the boutique look (fabric flowers, lots of ruffles, over-the-top hair bows, etc,) which is really popular thanks to Esty.  I love stalking that site when I am not sewing or crafting. Unfortunately, I am WAY too poor to afford any of that boutique stuff for her. I am however, privileged to possess basic sewing skills so I've been using the boutique-style as inspiration for many of her outfits, and I can make them for a fraction of the cost.  
This blog was created so I can show off everything I made, and hopefully Elisa can look back and appreciate it! I may throw in some tutorials here and there (I'm really bad at taking pictures while I work though), but mostly it's just for fun!